Track and Rail
Track and Rail
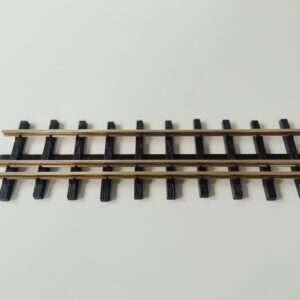
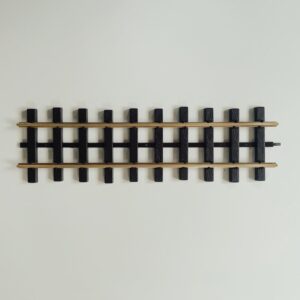
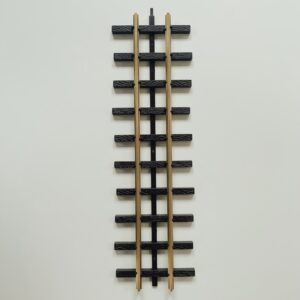
Sunset Valley track comes unassembled in 6ft sections. Each order comes with 2 6ft sections of rail, and 6 1ft sections of tie strips. Rail is available in aluminum, brass, and stainless steel. We also sell tie strips and rails separately.
Items like rail joiners and rail clamps can be used to connect sections of track and are sold separately under accessories.
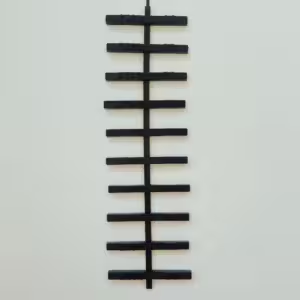
Mainline, dual gauge, narrow gauge and O gauge ties are available for all rail types.
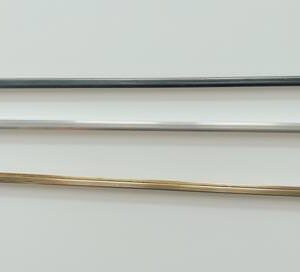
Code 250 Rail Materials:
- Aluminum: made from aircraft quality type 6063-T6, anodized and heat treated to be strong and weather resistant. It is the most economical. We do not recommend this for track powered trains.
- Brass: Made from type 360 alloy, strong, malleable and weathers into a beautiful dark color. Our most popular material.
- Stainless steel: Made from type 304 alloy, the same alloy as household cutlery and saucepans. This is completely corrosion proof and very strong.
Showing all 9 results
-
Rail
Price range: $10.00 through $39.00 Select options This product has multiple variants. The options may be chosen on the product page -
Dual Gauge Track
Price range: $39.00 through $78.00 Select options This product has multiple variants. The options may be chosen on the product page -
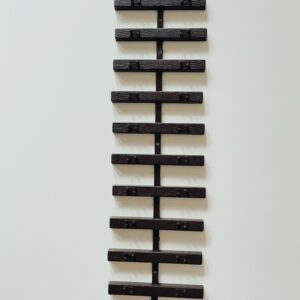
Dual Gauge Style Tiestrip
$3.70 Add to cart -

Mainline Track
Price range: $29.00 through $58.00 Select options This product has multiple variants. The options may be chosen on the product page -

Mainline Style Tiestrip
$3.70 Add to cart -
Narrow Gauge Track
Price range: $29.00 through $58.00 Select options This product has multiple variants. The options may be chosen on the product page -
Narrow Gauge Tiestrip
$3.70 Add to cart -
O Gauge Track
Price range: $29.00 through $58.00 Select options This product has multiple variants. The options may be chosen on the product page -
O Gauge Style Tiestrip
$3.70 Add to cart